
How to Copy SPF and DKIM Records from cPanel to Cloudflare DNS Zone
Introduction:
SPF (Sender Policy Framework) and DKIM (DomainKeys Identified Mail) records are essential for email authentication, helping to prevent your emails from being marked as spam.
Cloudflare syncs the DNS records one time when you initially set up your domain, so any new updates to your SPF and DKIM records need to be manually updated in Cloudflare's DNS zone to ensure smooth email delivery from your servers.
This guide provides a step-by-step process to copy SPF and DKIM records from HosterPK (cPanel) and update them in Cloudflare's DNS zone.
Copying SPF and DKIM Records from cPanel:
Step 1: Log in to cPanel
- Open your web browser and navigate to your cPanel login page.
- Enter your username and password, then click “Log in.”
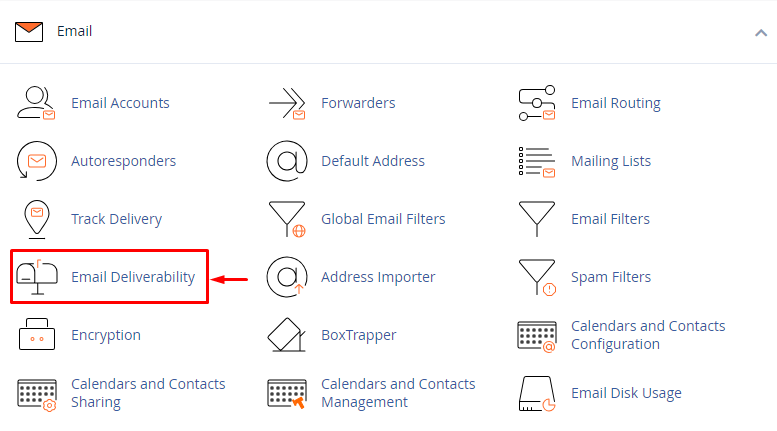
Step 2: Access Email Deliverability
- In the cPanel dashboard, scroll down to the "Email" section.
- Click on “Email Deliverability”.
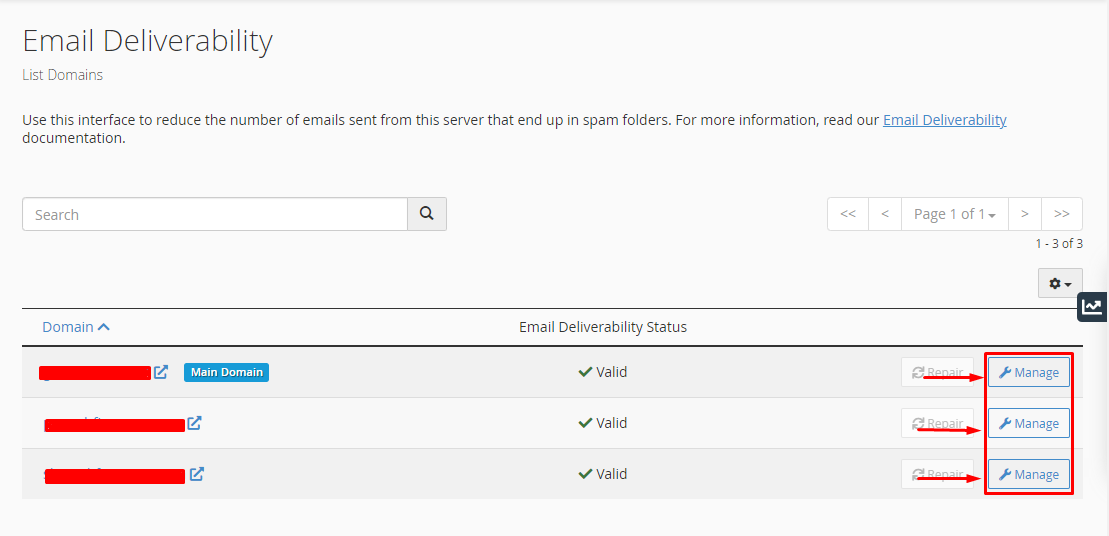
Step 3: Find the Domain
- You will see a list of domains associated with your cPanel account.
- Locate the domain for which you want to copy the SPF and DKIM records.
- Click on "Manage" next to the desired domain.
Step 4: Copy the SPF Record
- In the "Email Deliverability" page, you will see a section for the SPF record.
- The SPF record will be displayed in a text box.
- Highlight the entire SPF record text, right-click, and select "Copy," or press
Ctrl + C(Windows) orCommand + C(Mac).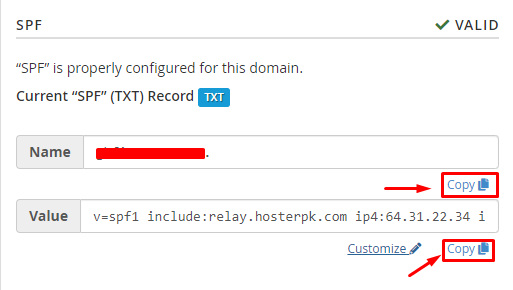
Step 5: Copy the DKIM Record
- Scroll down to the DKIM section on the same page.
- The DKIM record will be displayed similarly to the SPF record.
- Highlight the entire DKIM record text, right-click, and select "Copy," or press
Ctrl + C(Windows) orCommand + C(Mac).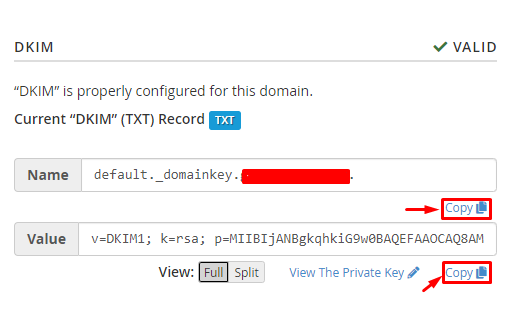
Step 6: Save the Records
- Open a text editor or a document where you want to save these records.
- Right-click and select "Paste," or press
Ctrl + V(Windows) orCommand + V(Mac) to paste the copied records.
Updating SPF and DKIM Records in Cloudflare DNS Zone:
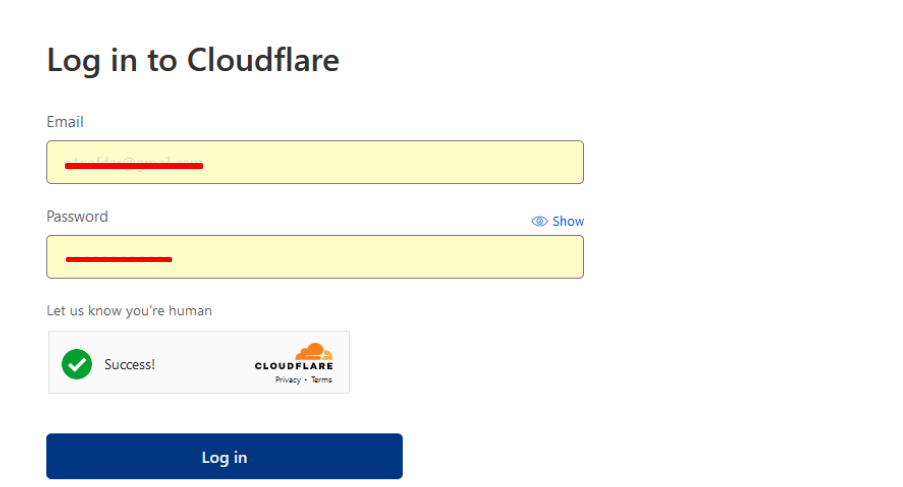
Step 1: Log in to Cloudflare
- Open your web browser and go to Cloudflare’s login page.
- Enter your email address and password, then click “Log in.”
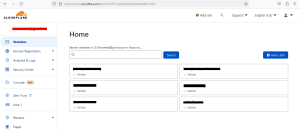
Step 2: Select Your Domain
- In the Cloudflare dashboard, you will see a list of your domains.
- Click on the domain for which you want to update the SPF and DKIM records.
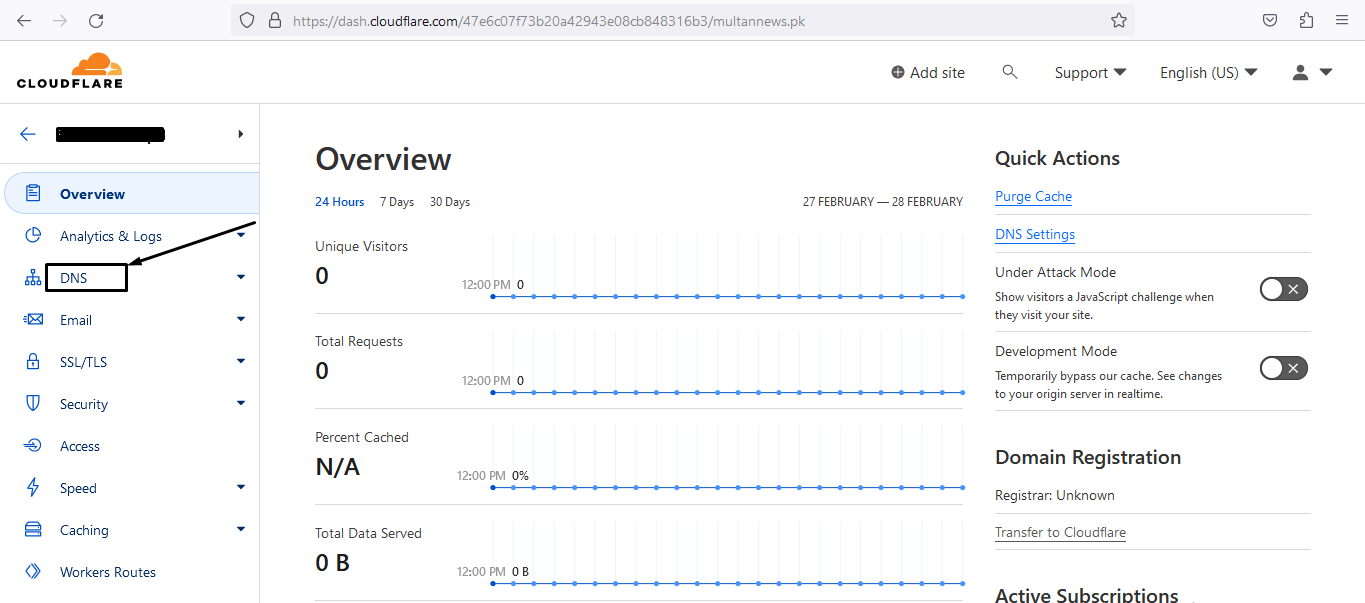
Step 3: Access DNS Settings
- In the domain overview page, click on the “DNS” tab located at the top of the page.
Step 4: Add or Update the SPF Record
- Scroll down to the DNS Records section.
- To add a new SPF record:
- Click on the “Add record” button.
- Select “TXT” from the “Type” dropdown menu.
- In the “Name” field, enter “@” if you want the record to apply to your root domain, or enter the specific subdomain.
- In the “Content” field, enter your SPF record value.
- Click “Save.”
- To update an existing SPF record:
- Find the existing TXT record that contains the SPF value.
- Click on the edit icon (a pencil) next to it.
- Update the “Content” field with the new SPF record value.
- Click “Save.”
Step 5: Add or Update the DKIM Record
- DKIM records are usually provided as a TXT record by your email service provider.
- To add a new DKIM record:
- Click on the “Add record” button.
- Select “TXT” from the “Type” dropdown menu.
- In the “Name” field, enter the DKIM selector followed by “._domainkey” (e.g.,
default._domainkey). - In the “Content” field, paste the DKIM record value provided by your email service provider.
- Click “Save.”
- To update an existing DKIM record:
- Find the existing TXT record that corresponds to the DKIM selector.
- Click on the edit icon (a pencil) next to it.
- Update the “Content” field with the new DKIM record value.
- Click “Save.”
Step 6: Verify the Records
- Once you have added or updated the records, it is important to verify that they are correctly configured.
- Use tools like MXToolbox to check your SPF and DKIM records.
- Enter your domain name in the respective tools to ensure the records are correctly set up and propagated.
Additional Tips:
- Verify Records: After updating the DNS records, use tools like Google Admin Toolbox to verify that your SPF and DKIM records are correctly set up.
- Propagation Time: DNS changes can take some time to propagate. It might take up to 48 hours for the changes to be fully effective.
- Check Syntax: Ensure that the syntax of the SPF and DKIM records is correct to avoid any issues with email delivery.
- Keep Records Secure: Ensure that the records are not altered or shared with unauthorized persons, as they are critical for your email security.
By following these steps, you will have successfully copied your SPF and DKIM records from HosterPK (cPanel) to Cloudflare’s DNS zone, improving your email deliverability and security.
If you encounter any issues, please open a support ticket or a LiveChat session using the icon located at the bottom right of the screen.